OpenApe ID
Create your identity
Register a WebAuthn passkey — no password, ever. Your OpenApe ID becomes the DDISA authority for your identity: every Service Provider logs you in via DNS-discovered SSO without ever seeing a credential.
Open OpenApe ID
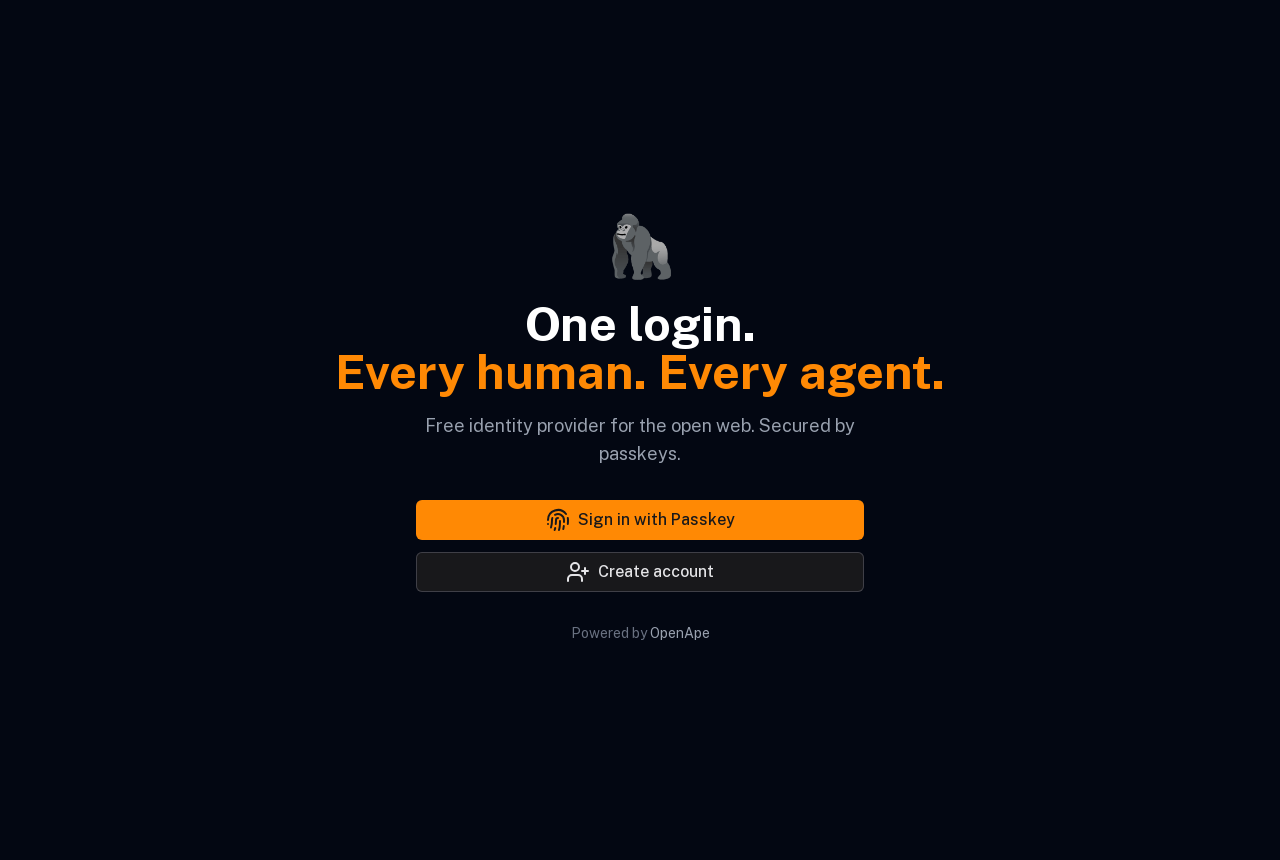
The landing page asks for nothing but your email. Click Create account to start.
Request your registration link
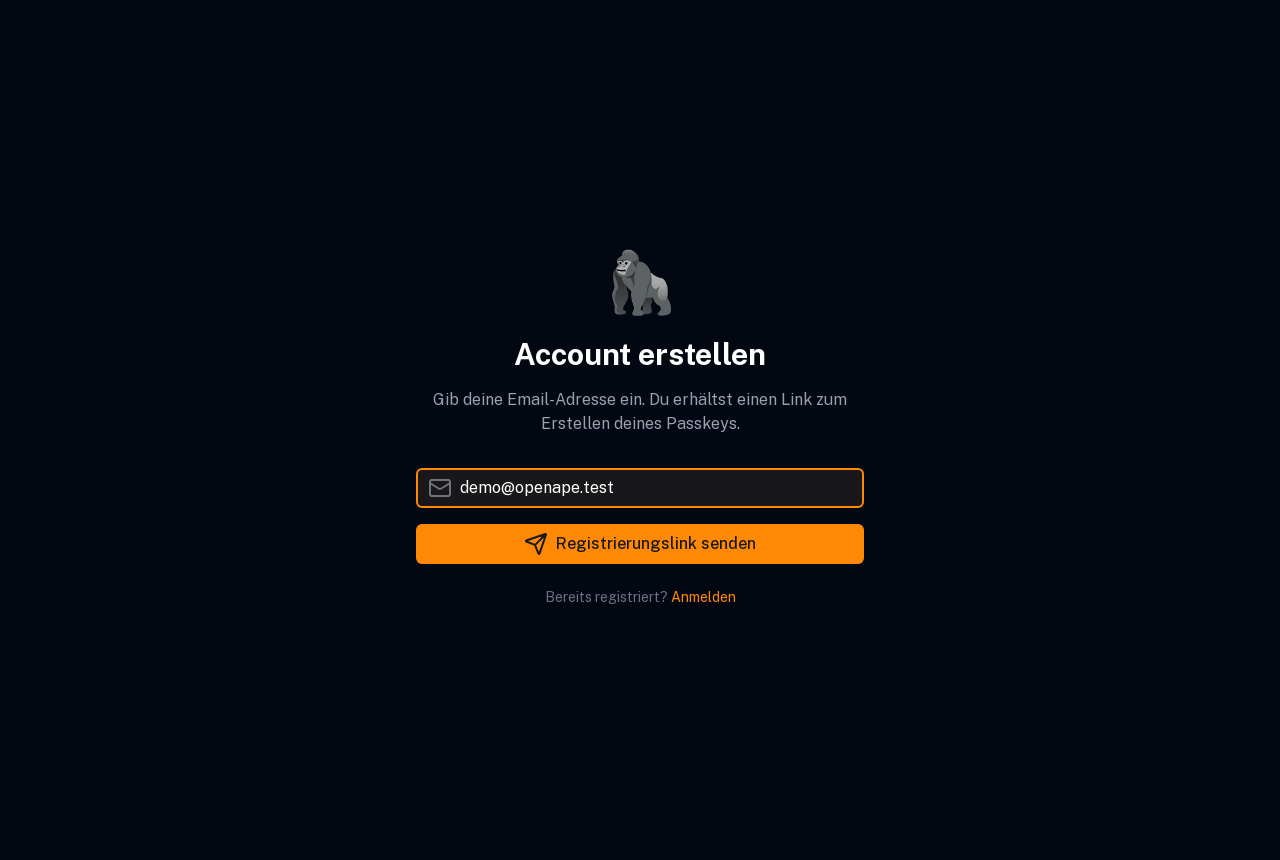
Enter your email — OpenApe ID sends you a one-time registration link.
Register your passkey
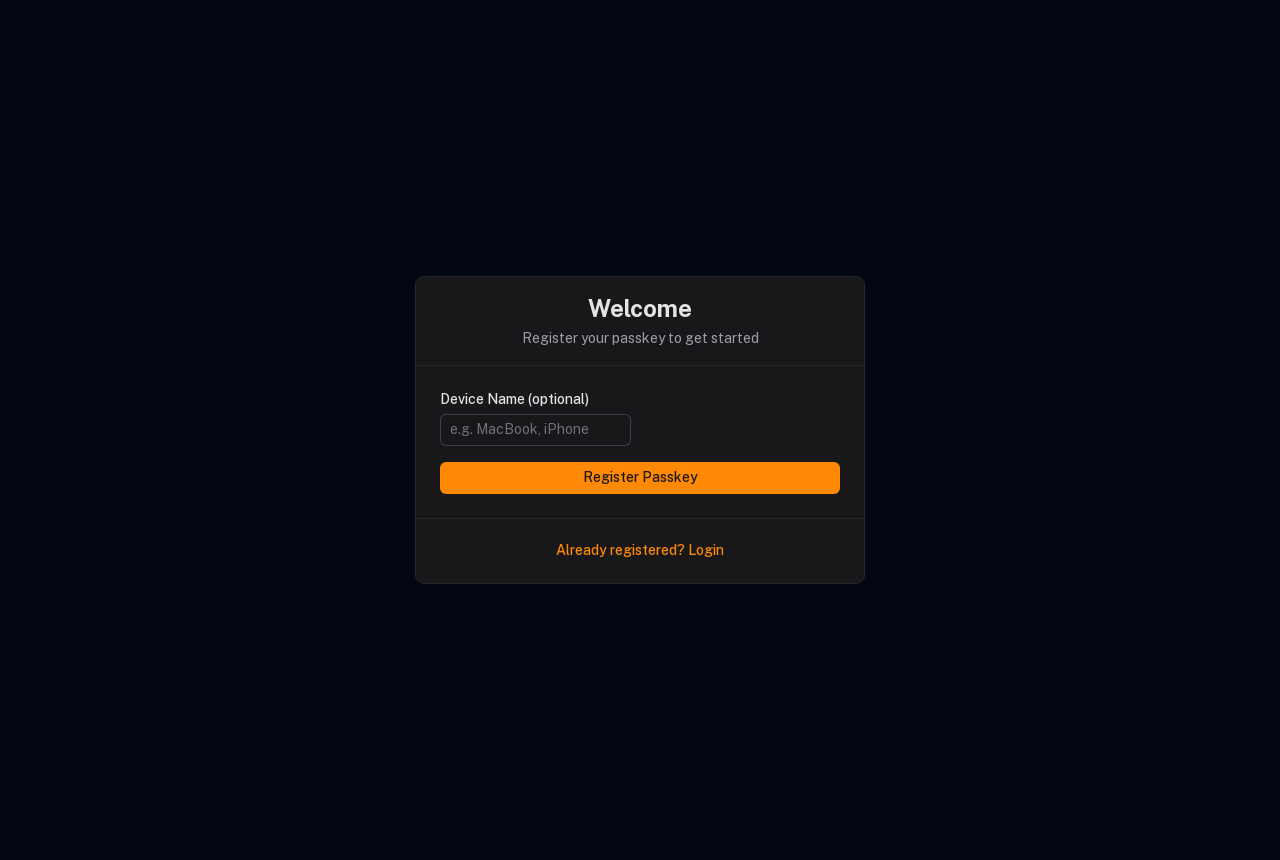
The link opens the passkey ceremony. Your device (Touch ID, Windows Hello, a security key) creates the credential — in this E2E run a virtual authenticator answers headlessly.
Done — you are signed in
That's the whole sign-up: one passkey, no password to remember or leak.
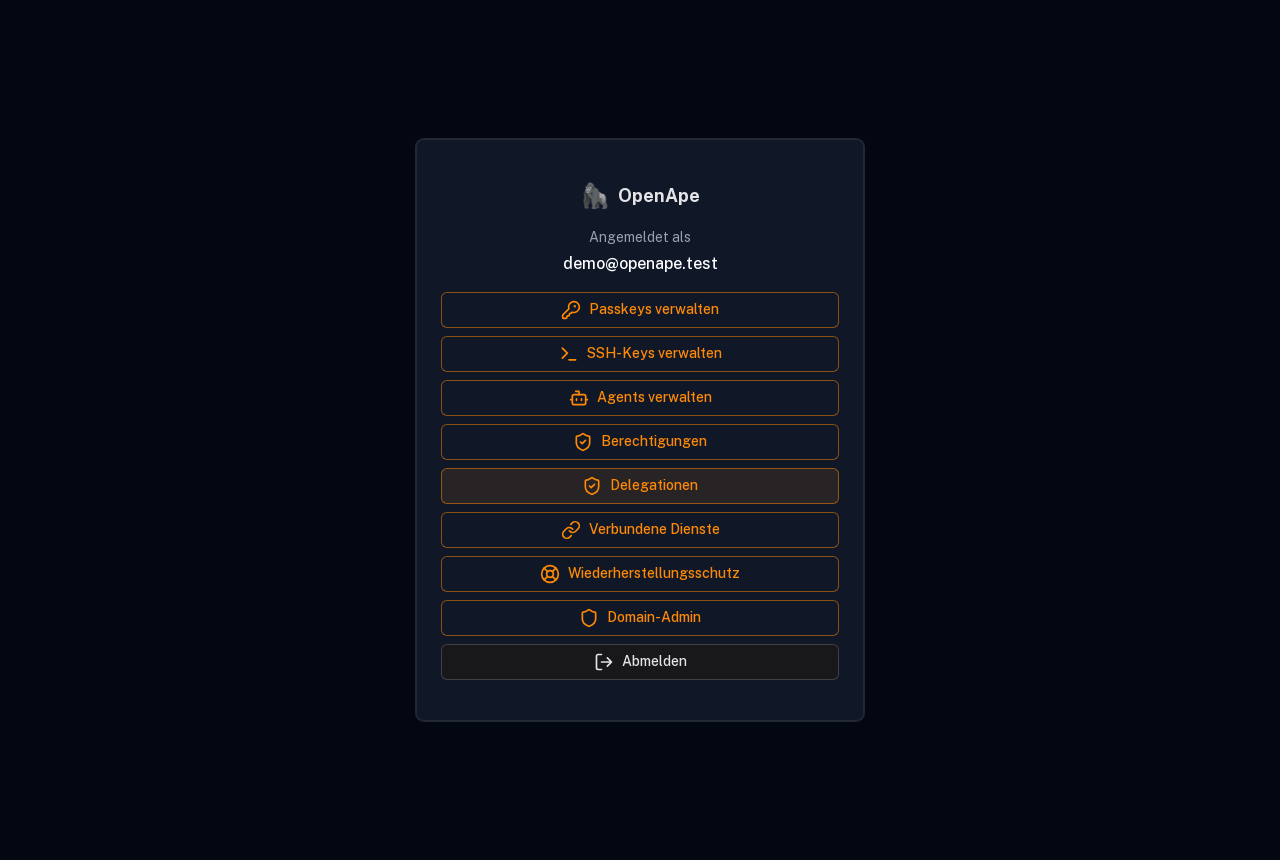
Your account dashboard
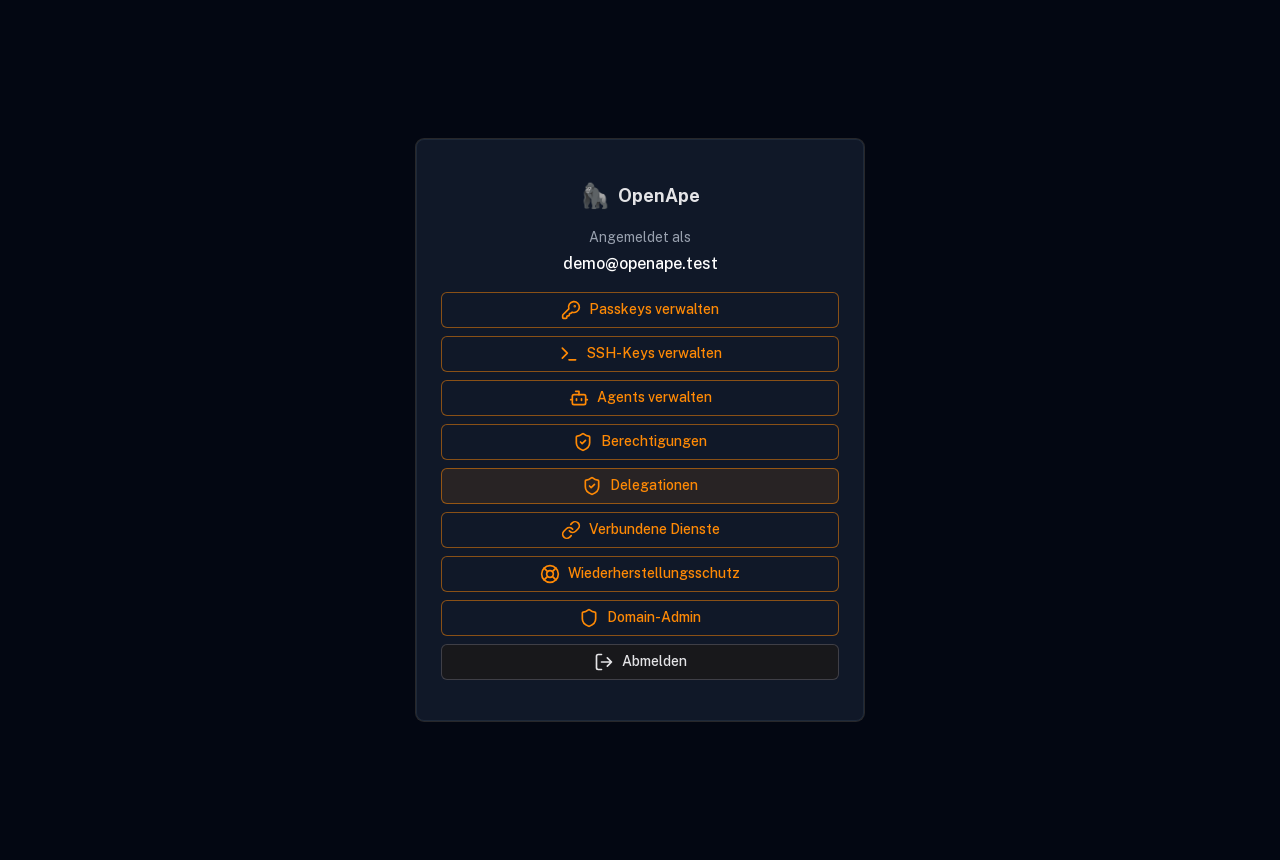
Your dashboard is home base for your identity. Passkeys, SSH keys, agents, permissions, delegations and connected services each have their own page, so you go straight to the one you need.
Open your dashboard
Once you're signed in, the dashboard brings together everything tied to your identity — passkeys, SSH keys, agents, permissions, delegations and connected services. Choose an area to open it.
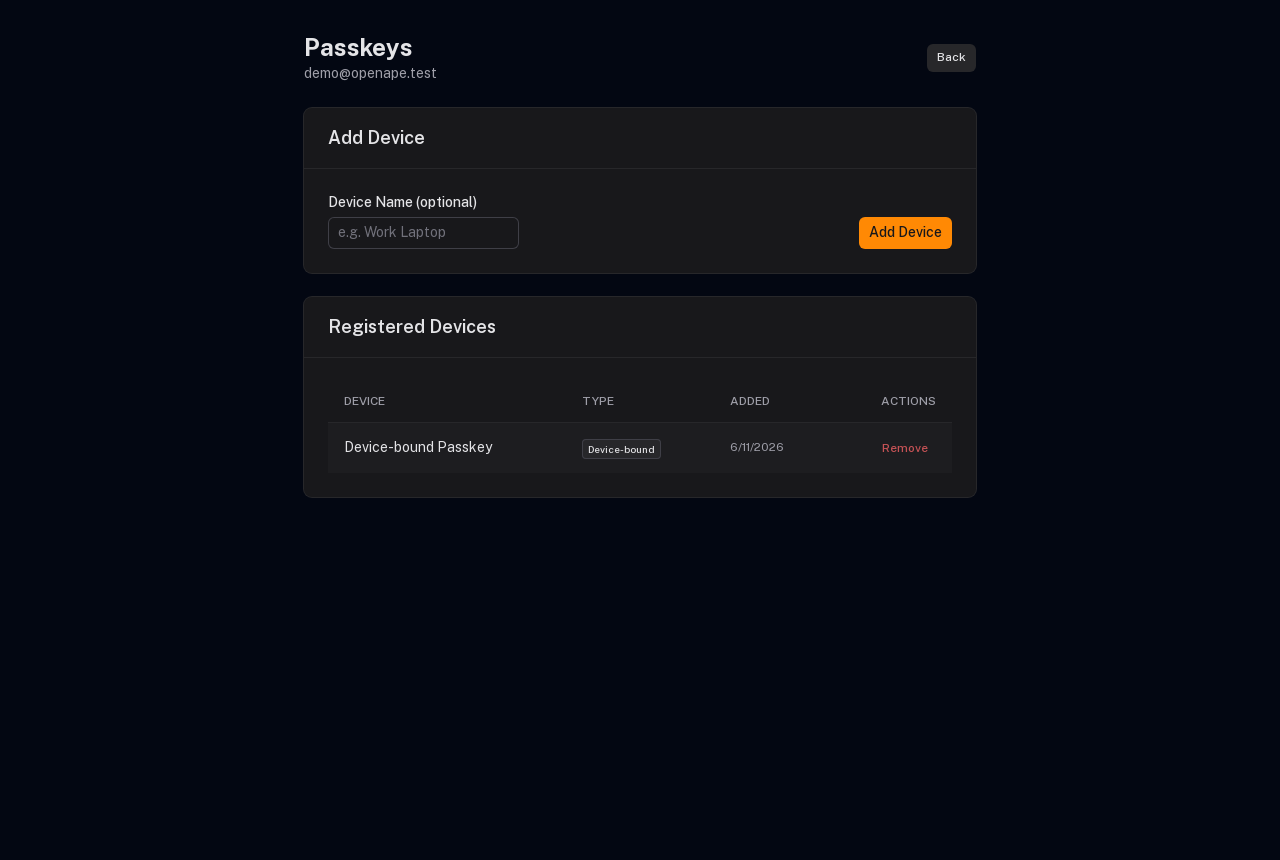
Manage your passkeys
Open Passkeys to manage how you sign in — add a new device, or remove one you no longer use.
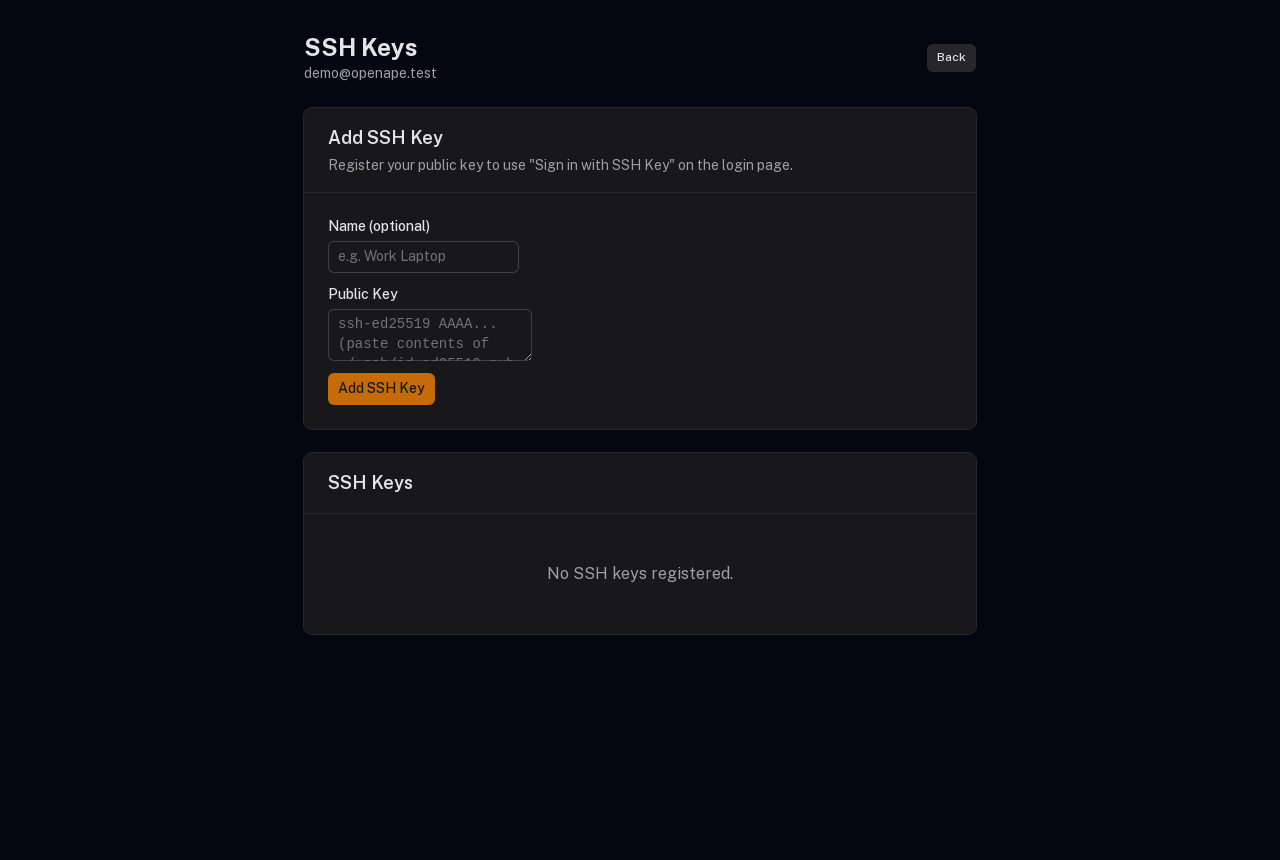
Manage your SSH keys
SSH keys holds the public keys for Sign in with SSH Key. Paste a key to add it, or remove one you've retired.
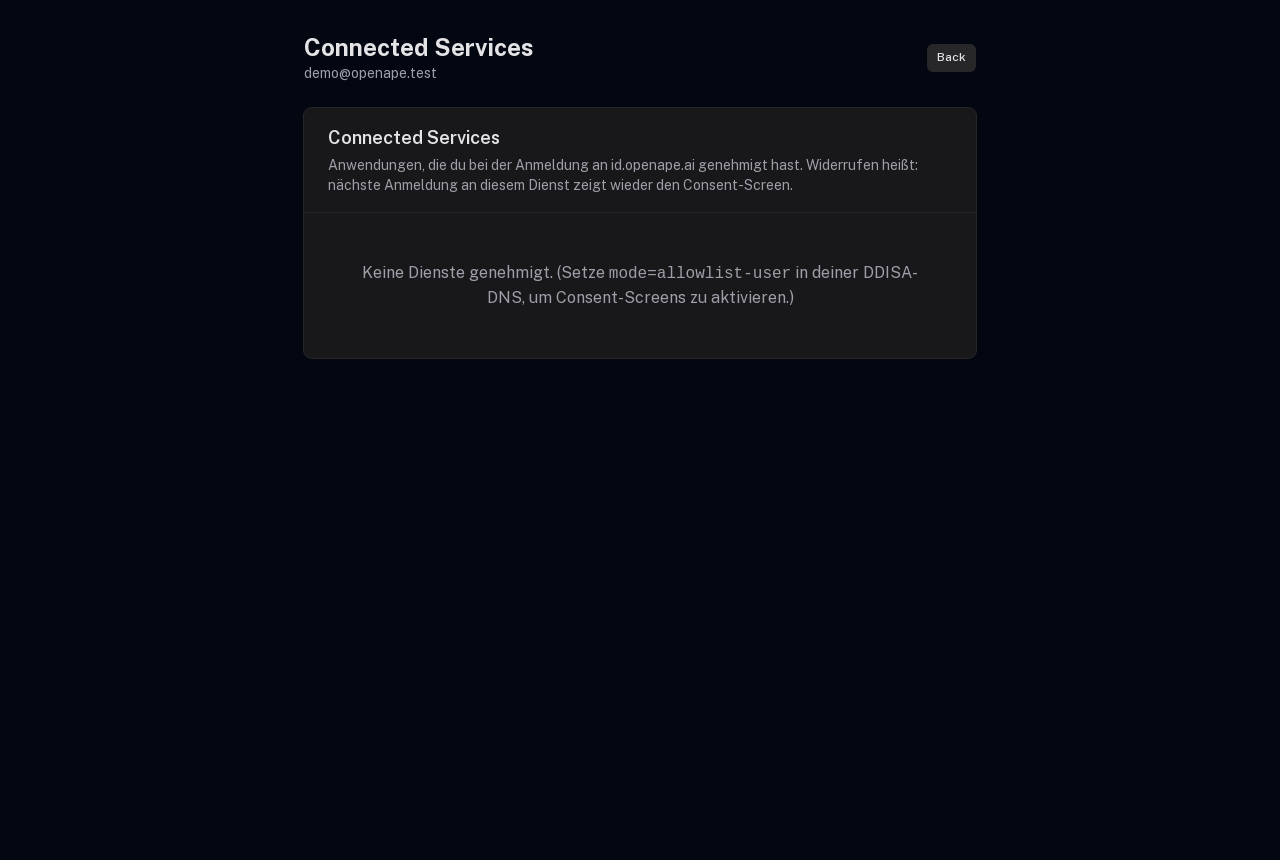
Review connected services
Connected services lists the apps you've signed in to with your OpenApe ID. Revoke one and you'll be asked to approve it again next time. Apps acting for you at another service live under Delegations.
Recover your account — or stop an attack in one tap
Lost every device with a passkey? Account recovery lets you enrol a new one after a waiting period — and because every recovery attempt is announced loudly on all your channels, an attacker can never run one quietly. This is the whole flow, from both sides.
Start a recovery
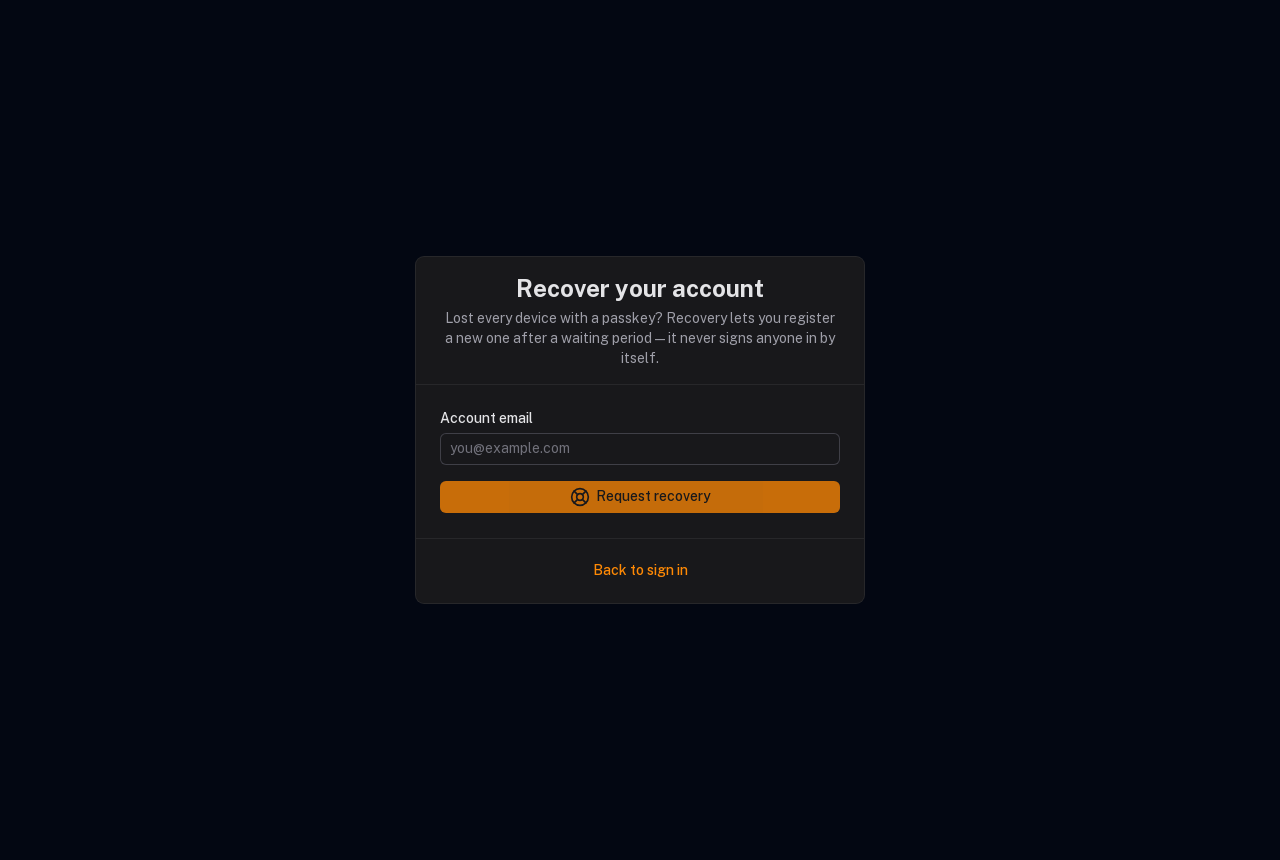
On the sign-in page choose Lost access? — no password reset, no support ticket. Recovery only ever grants permission to register a new passkey; it never signs anyone in by itself.
Request it for your email
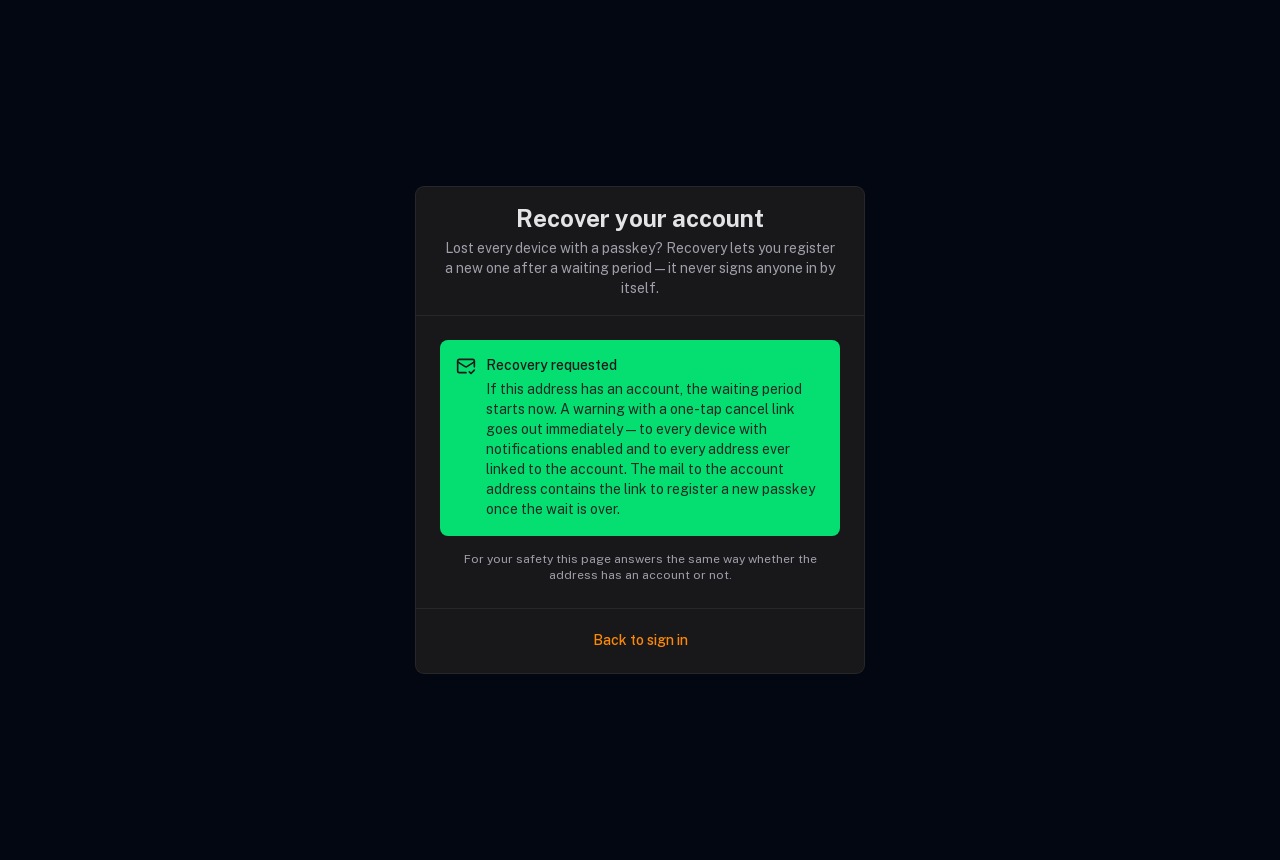
Enter your account email. OpenApe ID answers the same way whether the address has an account or not, so nobody can use this form to probe for accounts. If it is yours, the waiting period starts now.
Every channel gets the warning
The warning goes out immediately: a push notification to every device you enabled notifications on, and a mail to every address that was ever linked to your account — even ones you replaced years ago. A single compromised mailbox cannot swallow the alarm. Each warning names the exact moment the recovery could complete and carries a one-tap Cancel recovery link that works without signing in.
Cancel it in one tap
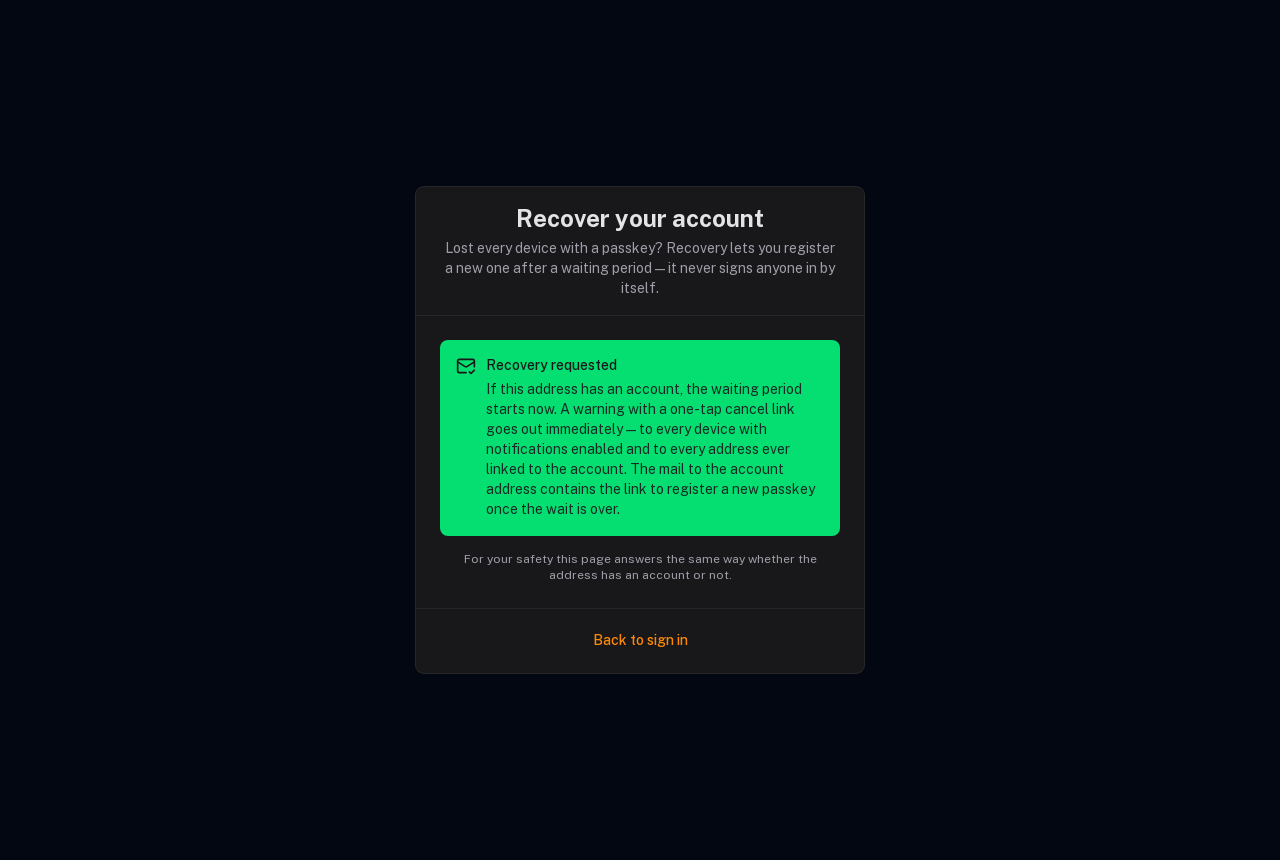
Didn't request it? Tap Cancel recovery in any warning — or on your Recovery protection page, one click from the dashboard — and the attempt is dead for good. A cancelled recovery can never be completed, not even after its waiting period would have ended. Signing in with one of your existing passkeys cancels it automatically, too.
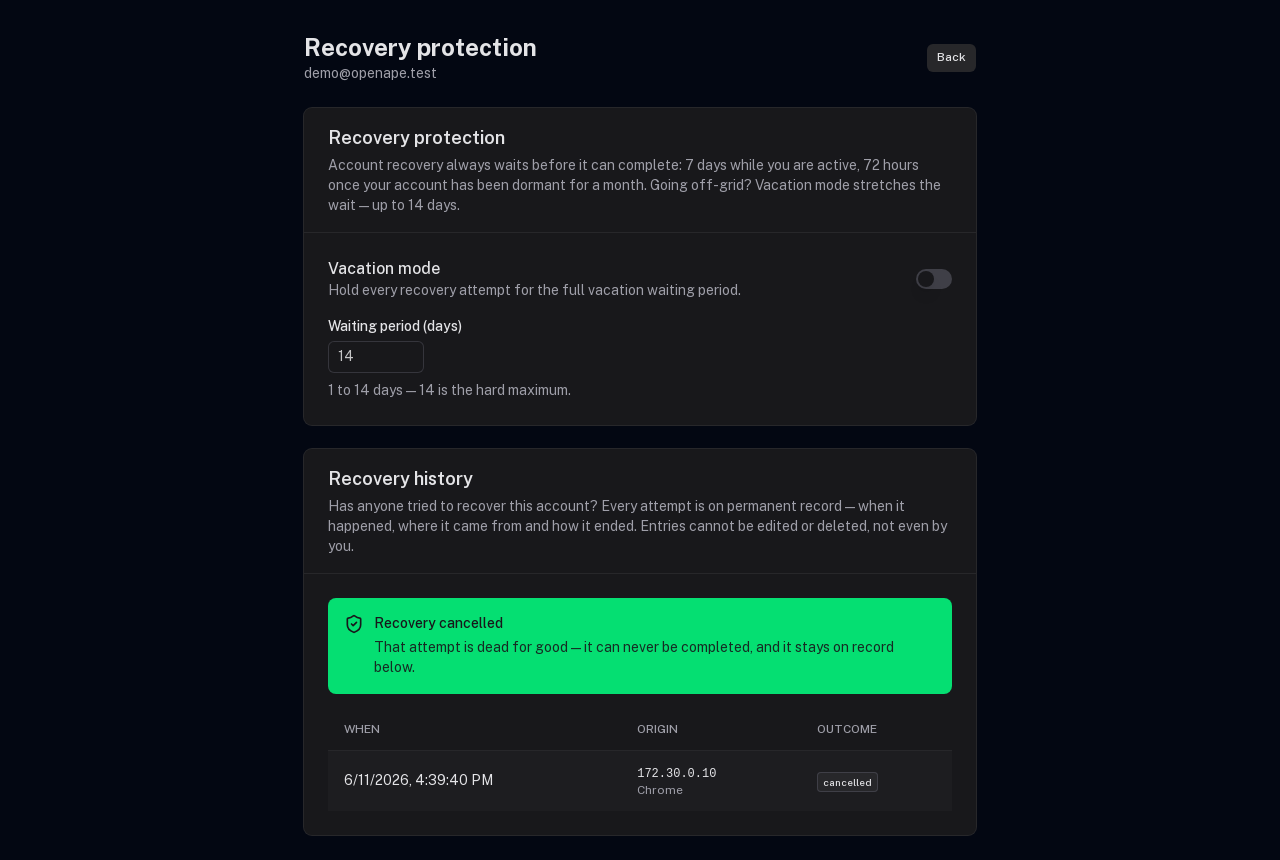
Vacation mode: a longer shield while you are away
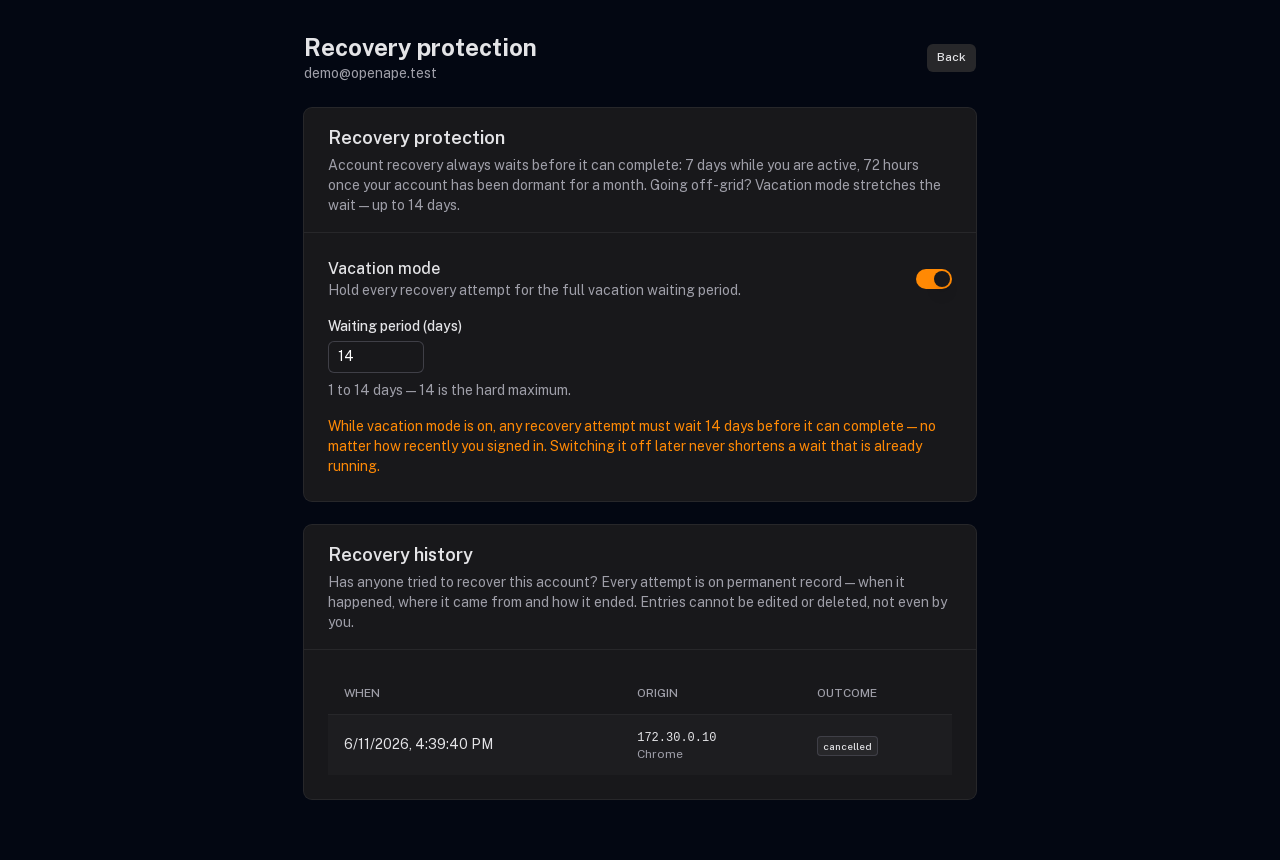
The recovery waiting period adapts to how you use your account: 7 days while you are active, 72 hours once an account has been dormant for a month. Going off-grid? Vacation mode stretches the shield to up to 14 days so nobody can take over your account while you cannot react.
Open Recovery protection
Open Recovery protection from your dashboard. Vacation mode lives here, in your account settings — only you, signed in, can change it. There is no way to flip it from the outside.
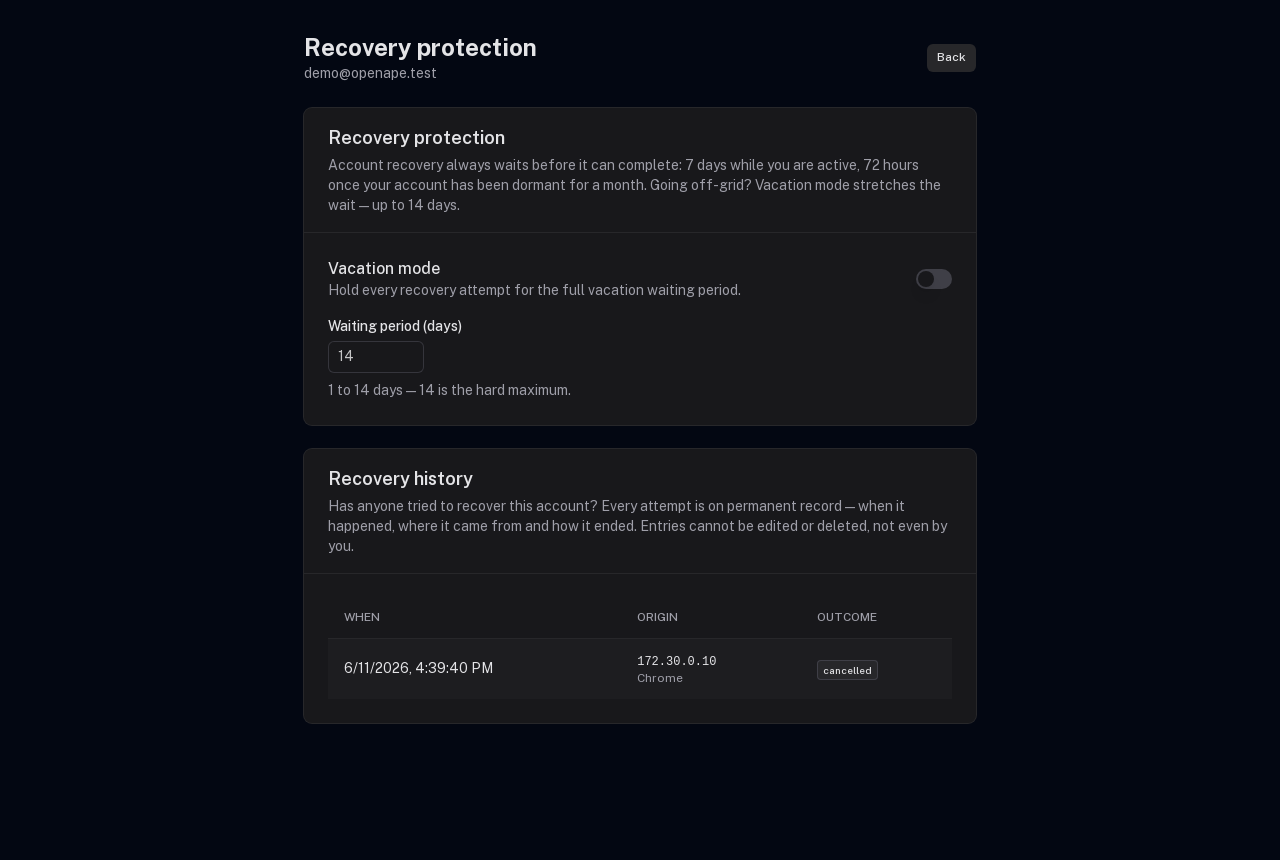
Switch on vacation mode
Switch it on and pick how long a recovery attempt has to wait — up to 14 days, which is also the hard maximum. While it is on, the vacation wait applies no matter how recently you signed in.
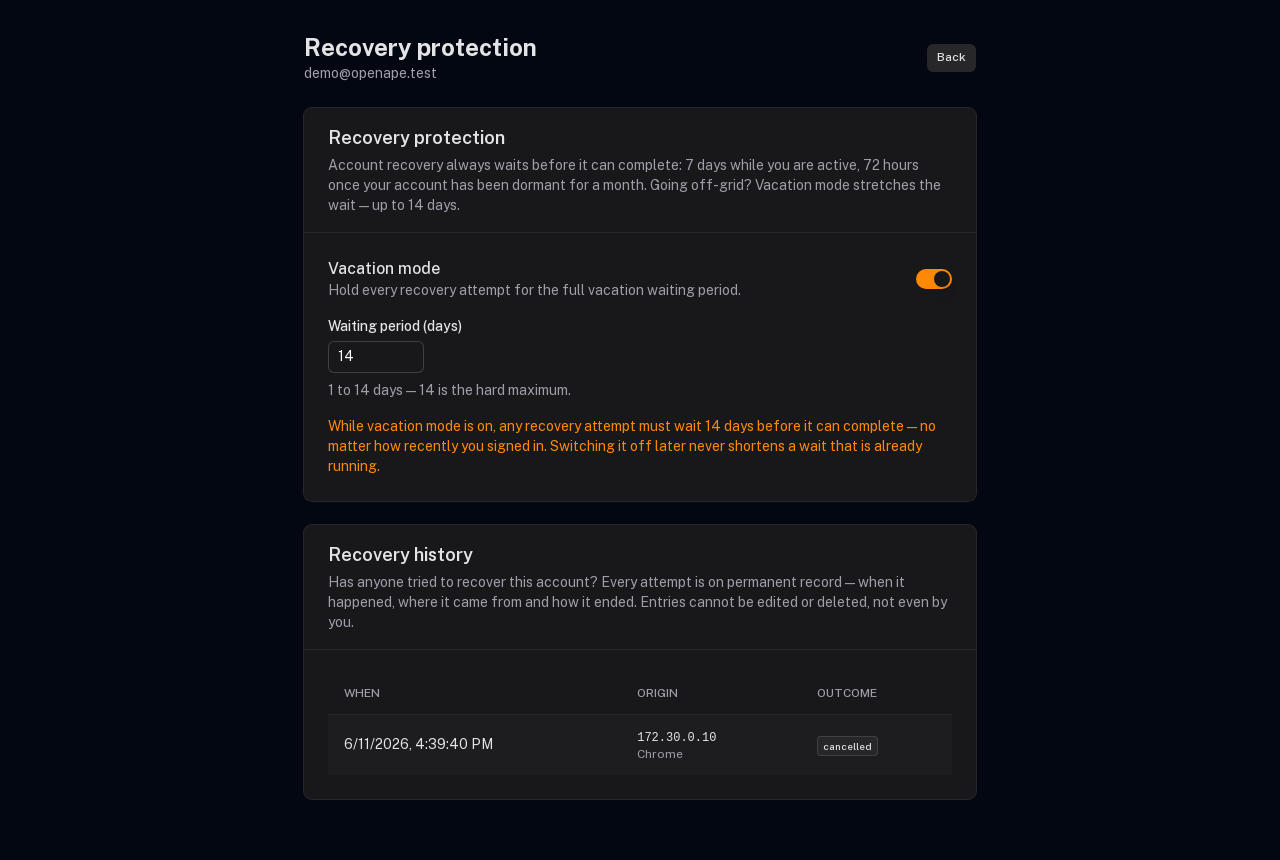
Your shield is set
That's it. A recovery requested from now on is bound to the wait that applied at the moment of the request — switching vacation mode off later never shortens a deadline that is already running.
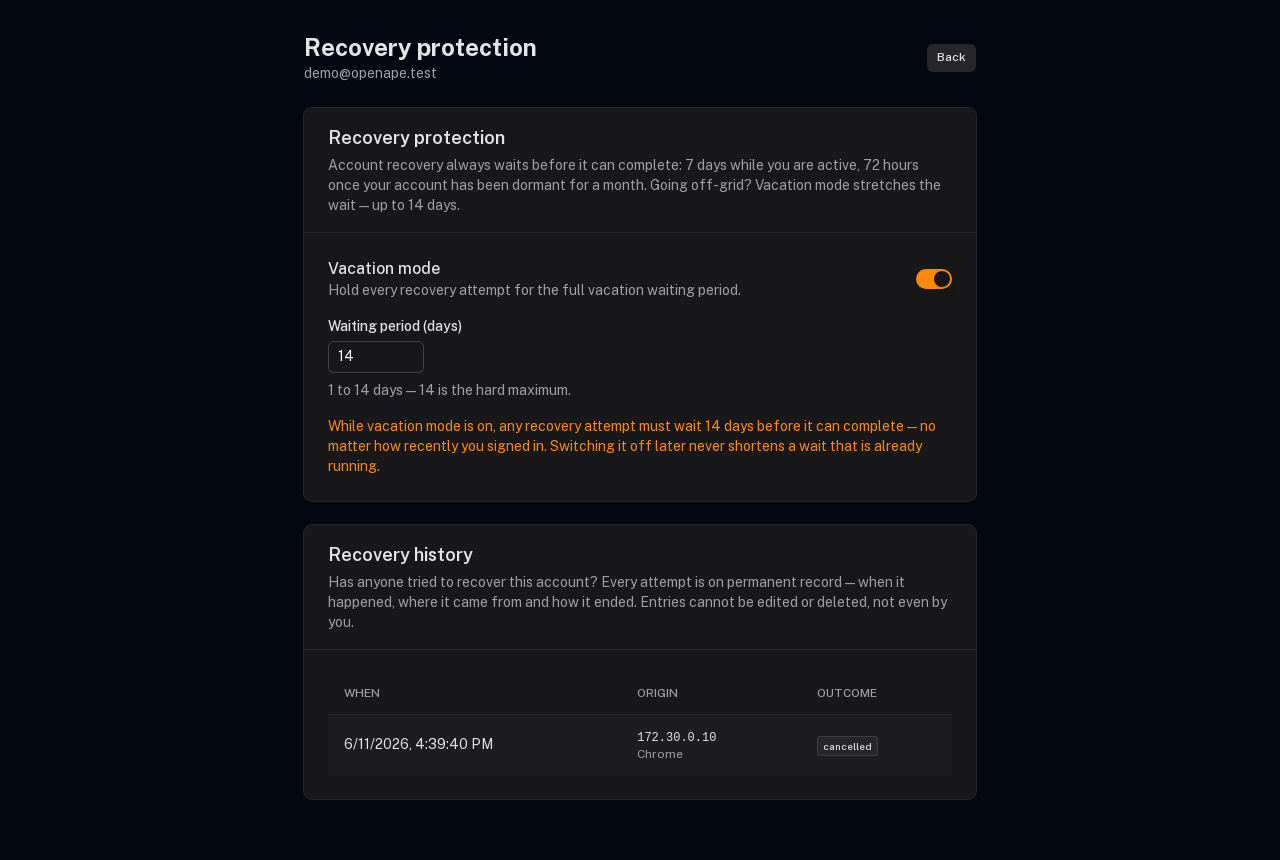
See every recovery attempt — nothing disappears
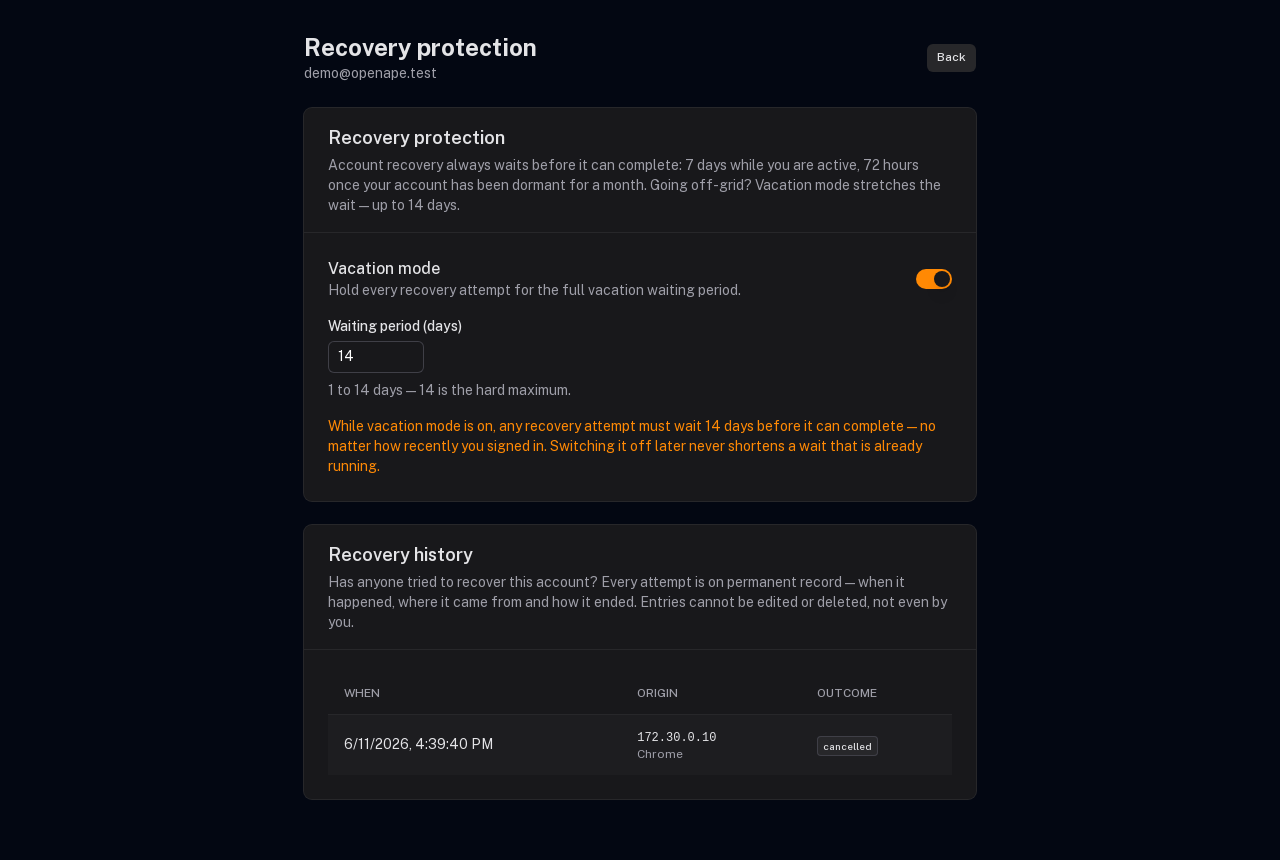
Every recovery attempt against your account is on permanent record: when it happened, where it came from, and how it ended. Attackers cannot probe quietly, and nobody — not even you — can scrub the record.
Open Recovery protection
The recovery history sits on your Recovery protection page, right under vacation mode — visible only to you while signed in.
Review every attempt
Each entry shows when the attempt was made, where it came from (IP address and browser, as far as known) and what became of it: still running — including the moment it could complete — finished, cancelled, or expired unused. Entries contain no links or codes an attacker could reuse, and they can neither be edited nor deleted: the cancelled attempt from the previous chapter stays on record forever.